Support
Access guides, FAQs, and support for Frieze subtitling software.
Getting Started
From first launch to live output in five steps.
Launch & Familiarize
Open Frieze and take a moment to look over the workspace. Our interface is built to stay out of your way until you need it.
Explore the Sandbox
Open the included Demo Project. It's a deliberately feature-rich file designed for you to experiment with, break, and test without any stakes.
Start a Fresh Slate
Ready to build? Go to File > New Project to clear the deck and begin your own production.
Import or Author Subtitles
Bring in your existing work from SRT, TXT, RTF, DOCX, or Glypheo formats, or simply start typing to create new rows from scratch.
Configure Your Outputs
Navigate to the Surfaces menu. Create a new surface and choose between a Monitor or a Virtual Output.
Installation
Download and install Frieze on your machine.
System Requirements
Mac with Apple Silicon (M1 or later), macOS 10.13+. Windows 10/11 (64-bit). Both require 8 GB RAM and 200 MB free disk space.
Download
Download the latest Frieze installer from the website.
Install
Open the .dmg file and drag Frieze into your Applications folder.
Activate
Launch Frieze and go to File > Settings > License. Enter your licence key to unlock Frieze or Frieze Pro.
Outputs & Displays
Configure physical screens, NDI virtual outputs, and live preview mapping.
Add an Output
Go to Tools > Output Settings to create a new output. Choose between a physical display connected to your machine or an NDI virtual output for streaming over the network.
NDI Streaming
NDI (Network Device Interface) lets you send subtitle frames as video over a local network. Any NDI-compatible receiver (vMix, OBS, Caspar, Resolume, etc.) can pick them up with zero additional hardware.
Language Mapping
Assign any language track to any output. Send English to Screen 1, German to Screen 2, and French via NDI — all from a single project and a single operator.
Importing & Formats
Bring existing subtitle files into Frieze with the validation pipeline.
Supported Formats
Frieze supports SRT, TXT, RTF, DOCX, and Glypheo project files.
Validation Preview
Every import goes through a preview pane showing detected rows, character counts, and warnings (e.g. overlapping timecodes, overly long lines).
Export
Go to File > Export and choose SRT or any other supported format. Export a single language track or batch-export all tracks at once into separate files.
Timeline & Timecode
Frieze has two timeline modes tailored to different workflows: index-based for theatre and timecode-based for cinema.
Theatre Mode Index-Based
In Theatre mode, subtitles are driven by cue index — the operator advances through rows manually. The timeline acts as a visual scrollbar with bookmark display, giving you comfortable navigation across your project without timecode overhead.
Best for: Live theatre where the operator follows the performance and fires cues in real time.
Cinema Mode Timecode-Based
In Cinema mode, every subtitle row is locked to a timecode. The timeline displays precise time positions and cues fire automatically.
Best for: Film screenings and pre-timed productions where subtitles must sync exactly to picture.
Styling
Frieze uses a three-layer styling system. Each layer overrides the one below it, so you can make sweeping changes without losing precision work.
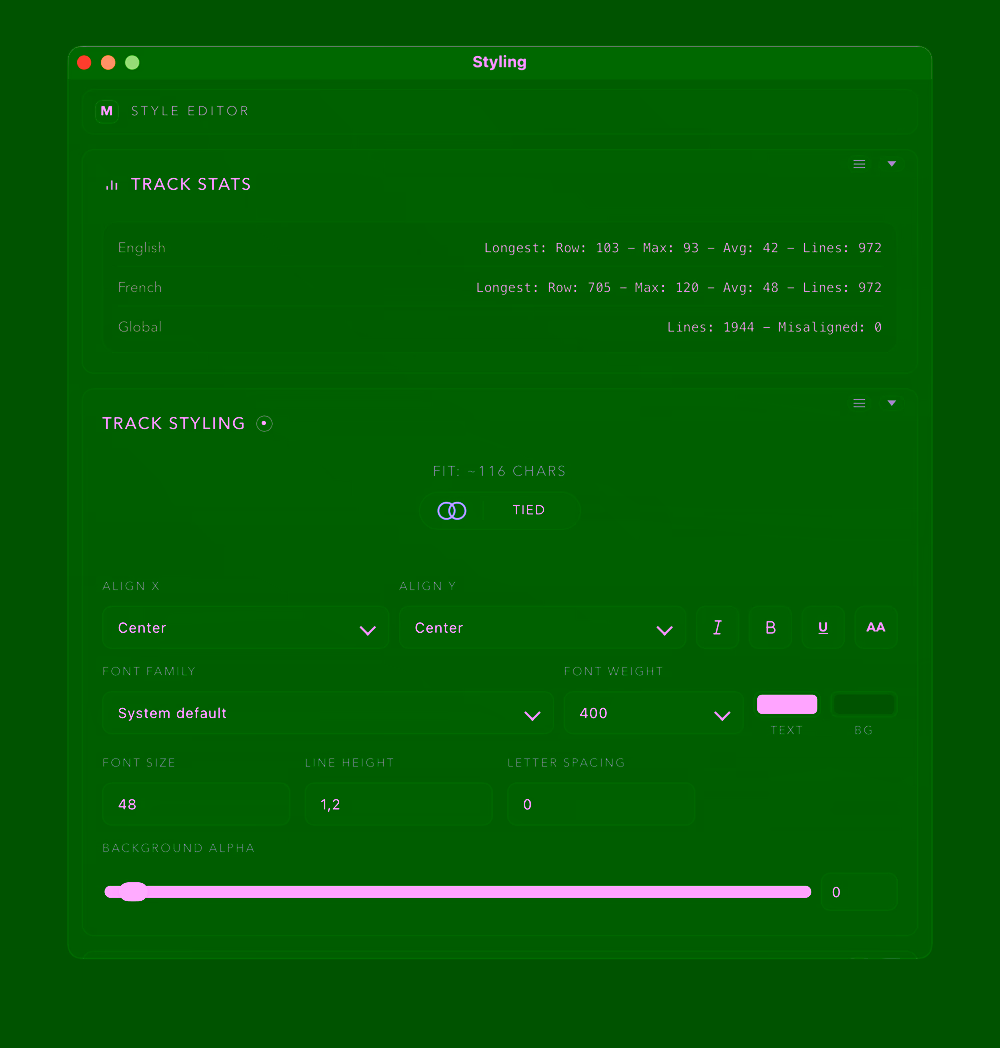
Layer 1 The Global Foundation (Track Styles)
This is your base layer. Global Track Styles define the default look for your entire project.
Tied Mode: Synchronizes styling across all tracks for a unified look.
Individual Mode: Grants you the flexibility to adjust specific track styles independently.
Use this for: Setting your primary font, size, and positioning for the bulk of your content.
Layer 2 The Strategic Middle (Groups)
Groups act as powerful styling presets that override Layer 1. By assigning text to a Group, you can apply distinct visual attributes based on context.
Use this for: Instantly styling character dialogue, differentiating chapters, or categorizing text by theme. If you update the Group style, every row assigned to that group updates instantly.
Layer 3 The Row-Level Override (Top Layer)
Designed for ultimate precision, this layer allows you to style a single row without affecting the rest of the project.
Dynamic Inheritance: By default, Layer 3 only overrides the specific parameters you change (e.g., making one word bold), while inheriting everything else from your Group or Global settings.
Full Commitment: If you prefer total manual control for a specific row, enable the "All Toggle." This severs inheritance, ensuring your changes are fully committed and isolated from the layers below.
Why we built it this way
While this layered approach may feel unique at first, it is designed to eliminate repetitive work. Most software forces you to change every row manually when a client asks for a font change; in Frieze, you simply update Layer 1, and your carefully crafted Layer 3 overrides remain perfectly intact.
Groups
In Frieze, Groups are the versatile "Swiss Army Knife" of your project. They are more than just styling presets — they are a multi-purpose organizational system designed to keep your timeline clean and your output precise.
The Power of Groups
Think of a Group as a label with intelligence. While they are always visible in your subtitle table for organization, you have granular control over where else they appear. Use them for:
Styling Presets
Quickly format character dialogue or technical cues.
Bookmarks
Create visual anchors in your timeline for easy navigation.
Visual Indicators
Add "helpers" for specific audiences (e.g., SDH/HoH indicators).
Decorations
Enhance the final output with specific graphic elements.
Where to Find Your Controls
To keep the interface clean, Group management is split into two logical areas:
The Groups Menu: Your "Command Center" for the group's identity — its name, visibility toggle, and how it appears in the GUI vs. the final output.
The Main Styling Window: Where you define the "DNA" of the group — how it actually modifies the text assigned to it.
Setting Up Your First Group
Initialize
Open the Groups Panel and create a new entry.
Define
Give your group a descriptive name (e.g., "Narrator" or "Safety Cues") and set its visibility preferences.
Assign
Select the rows in your subtitle table that belong together and assign them to your new group.
Refine (Optional)
Head to the Main Styling Menu to tweak how that group overrides your global styles.
Native Timeline Bookmarks
In Frieze, Groups do double duty as your navigation system. Every group you create is automatically represented as a Bookmark on your timeline. You don't have to hunt for specific sections; your groups act as constant visual anchors. Whether you are jumping between character arcs or technical cues, the timeline gives you a high-level map of your project's structure at a glance. No manual setup required — if it's a Group, it's a Bookmark.
Licensing
Manage your Frieze or Frieze Pro licence and activations through the Freemius website portal.